|
|
|
|
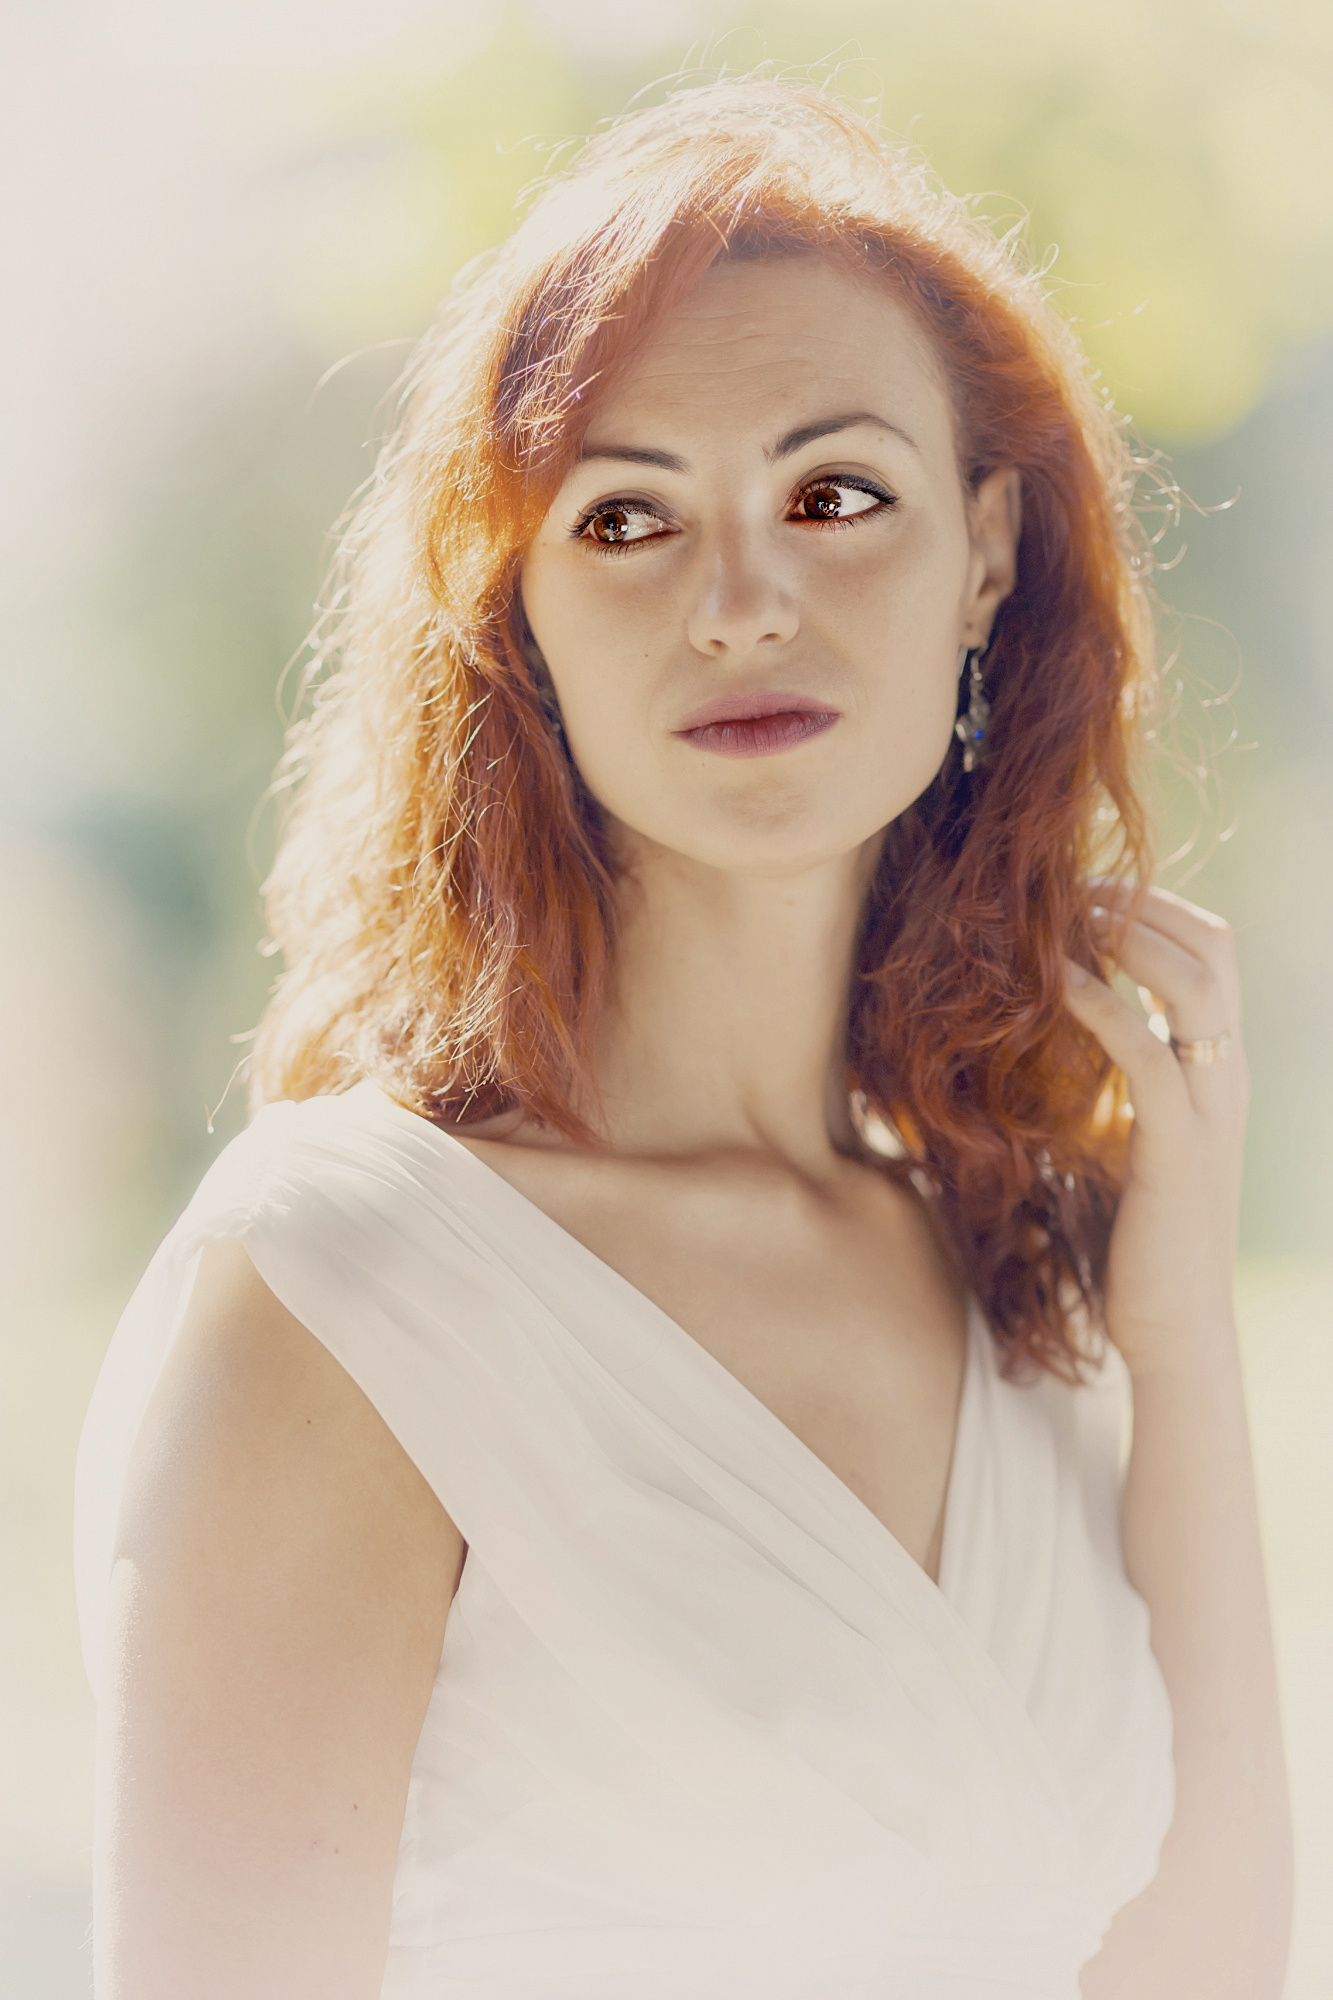
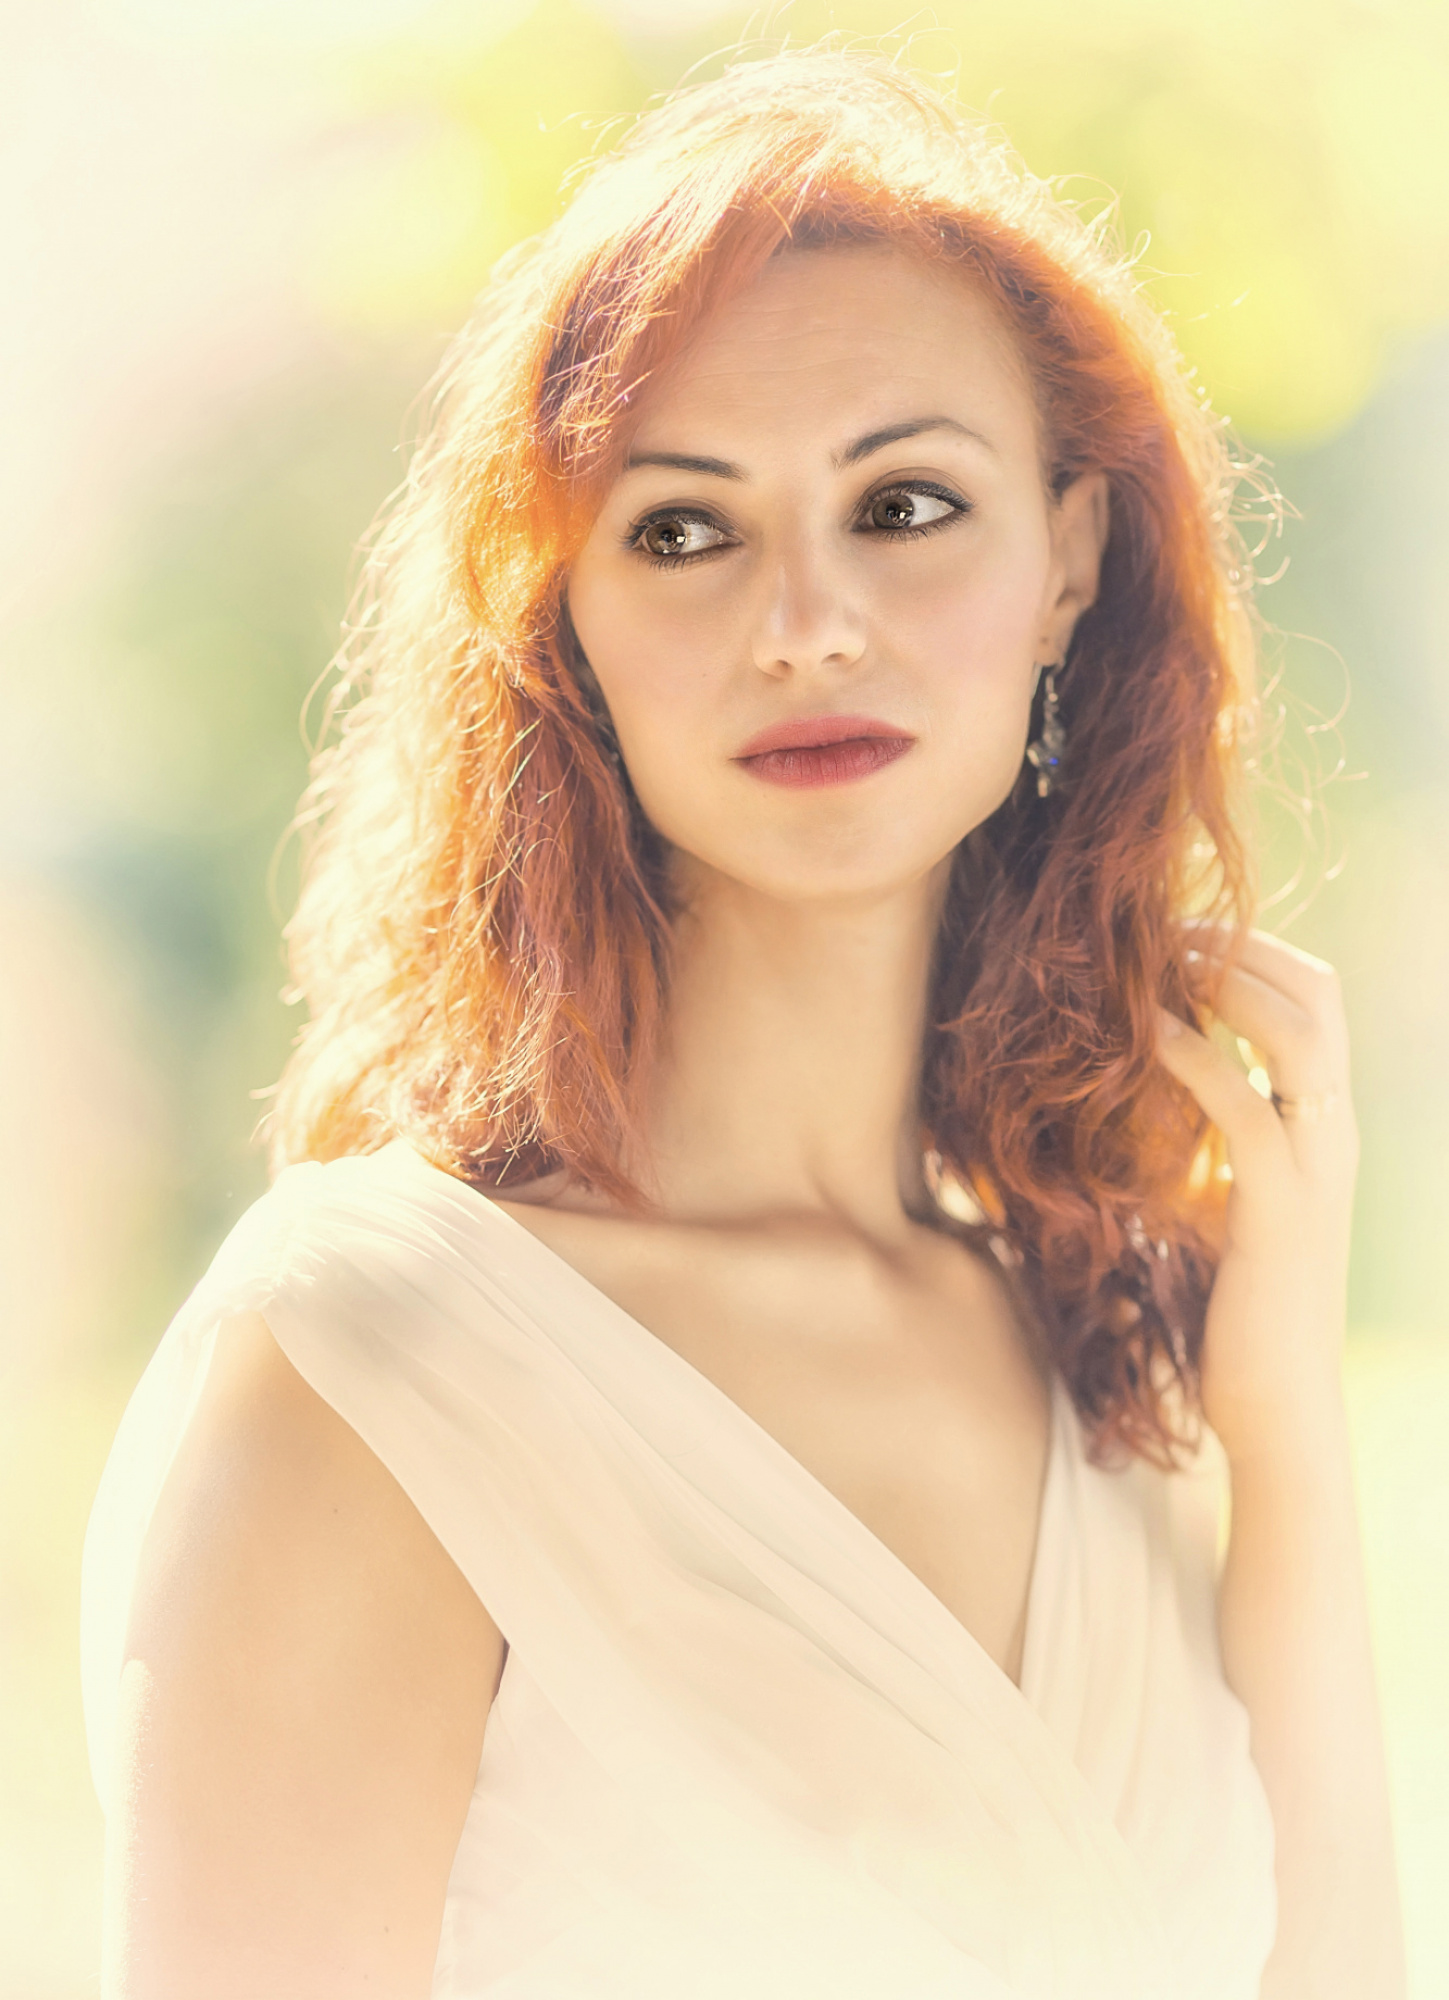
I mostly do landscape photography but occasionaly I try my hand at other genres; I am trying to improve my processing technique and attempted a high key processing of a portrait taken at a photo session organized by a few friends at a local photo club; not sure if I succeeded so I can use any advice from more accomplished photographers here at 1x.
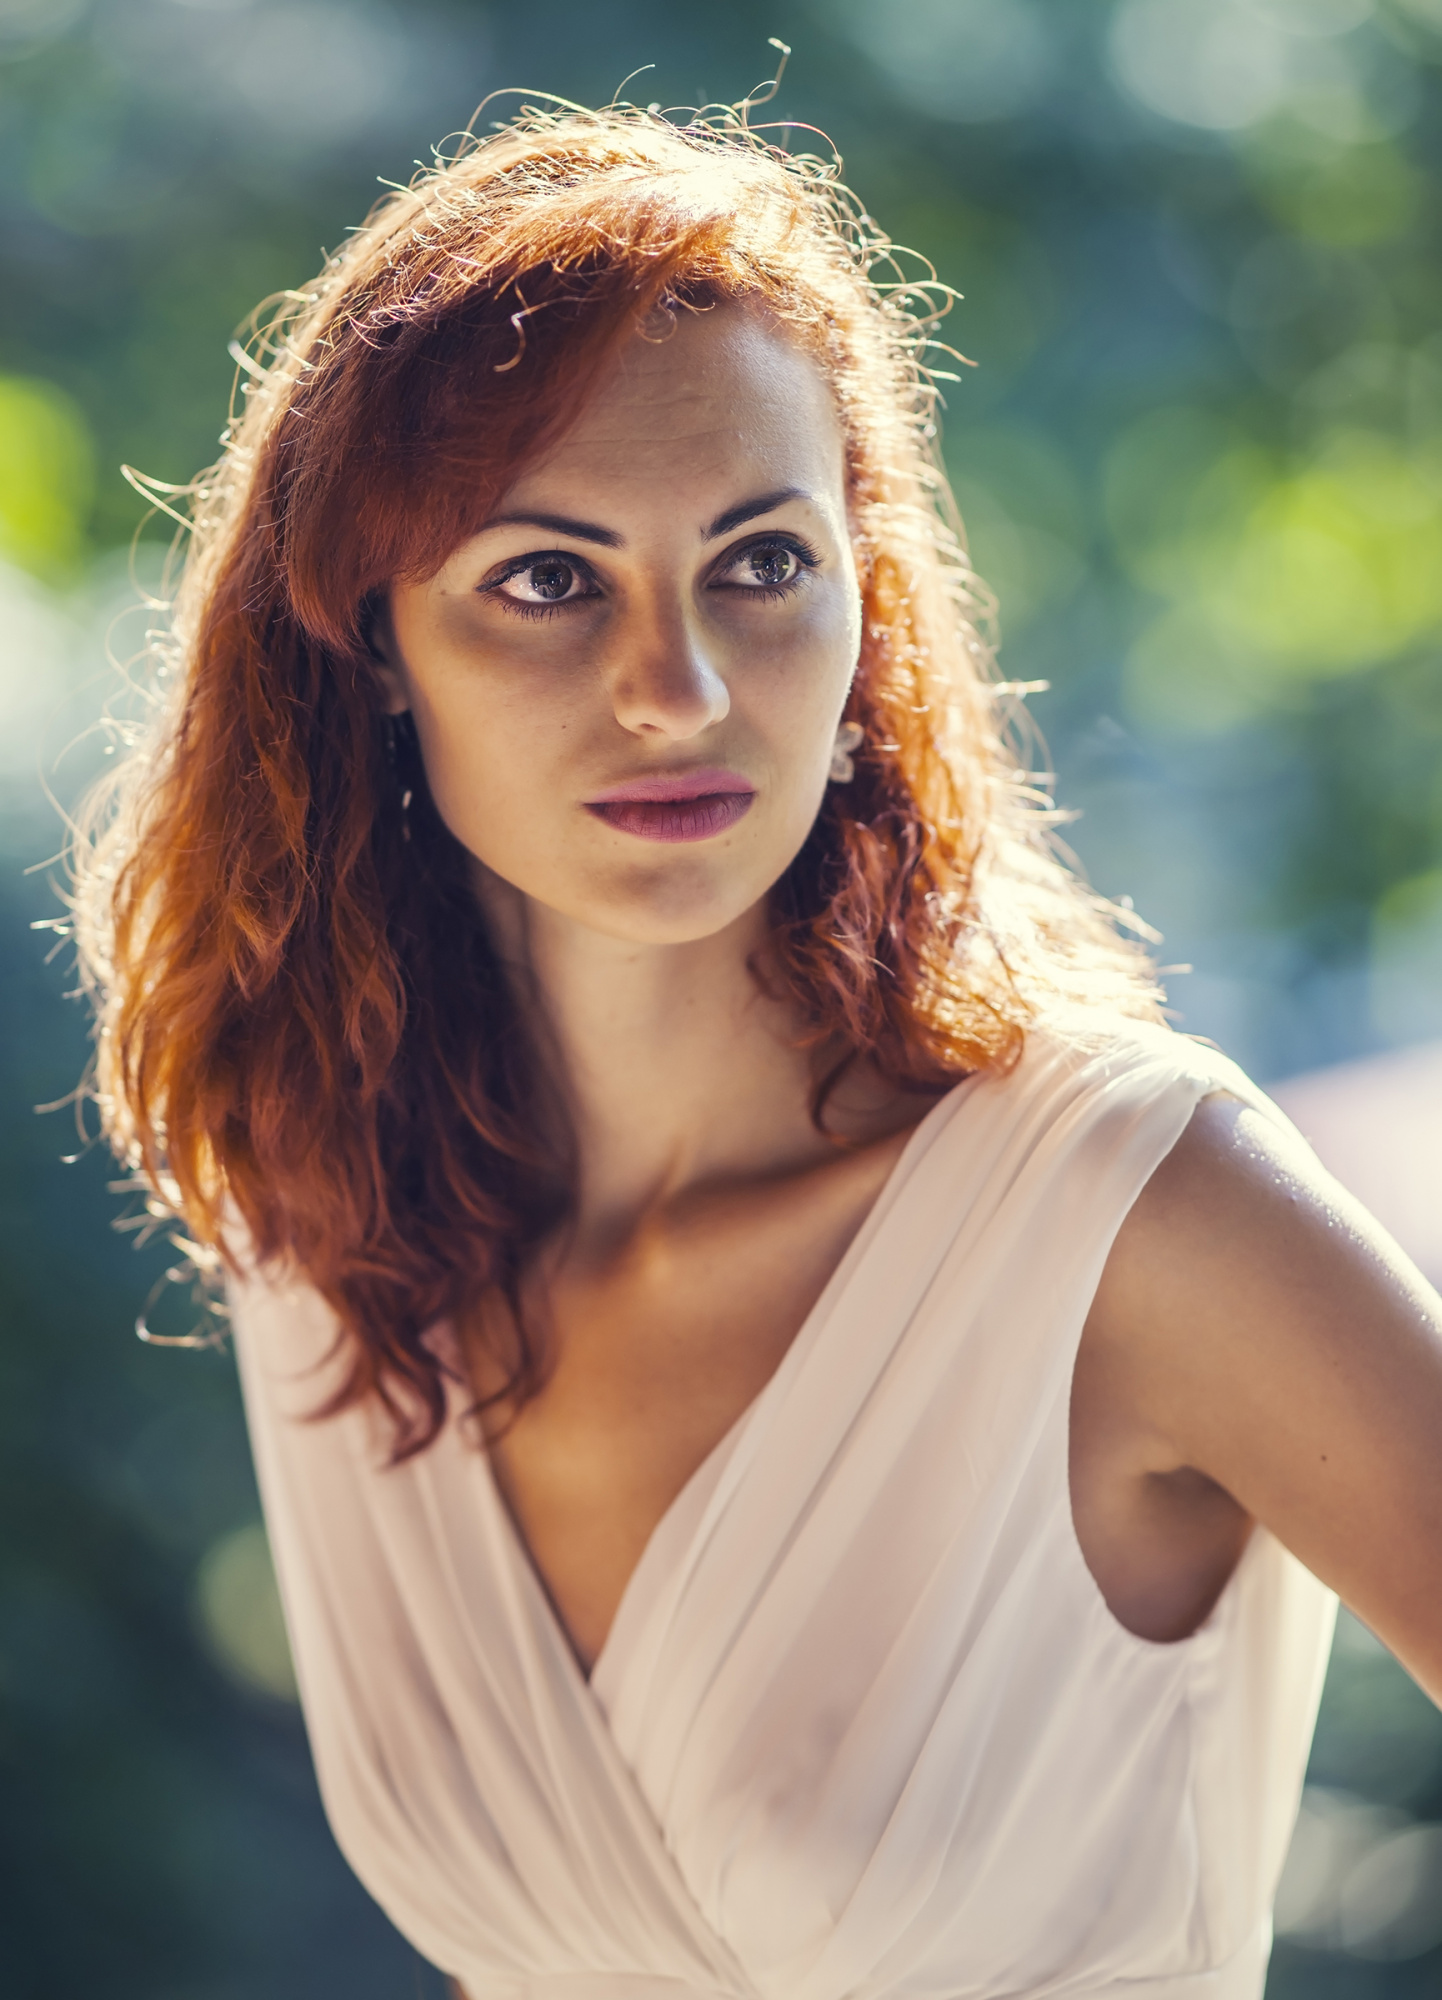
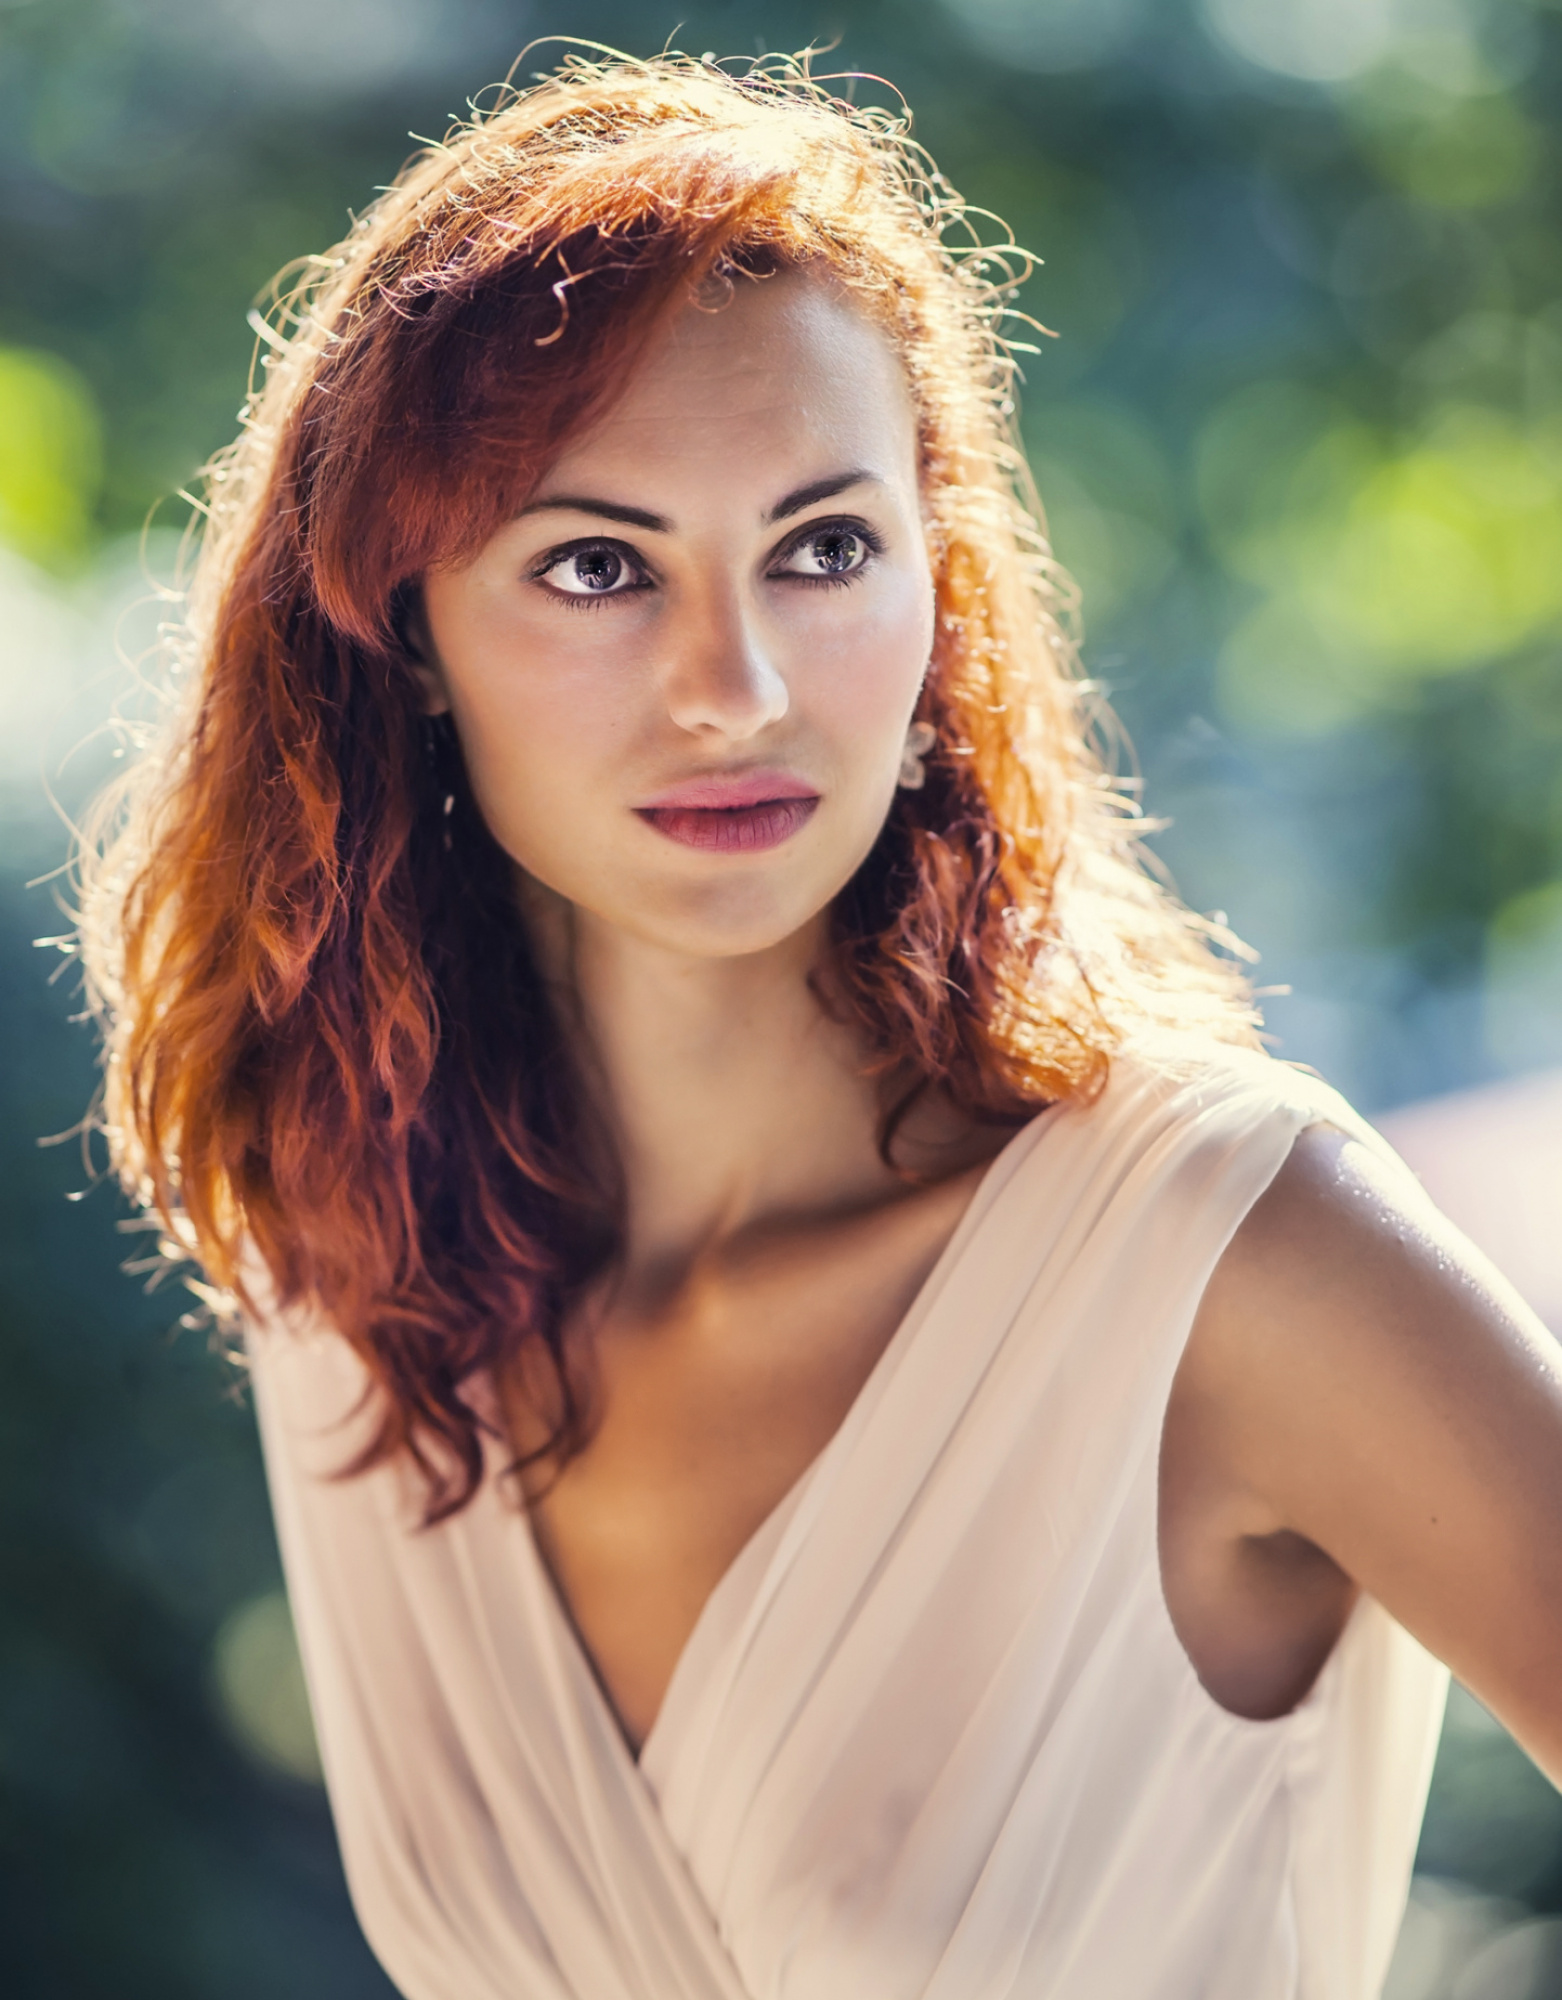
shots taken with my old CZ 135mm f1.8 that I rarely use ( a bit heavy to carry while hiking). I try to attach a take from the same session with less agressive processing.
it seems that if you add certain tags (like portrait) the post can end up in a different section of the forum.
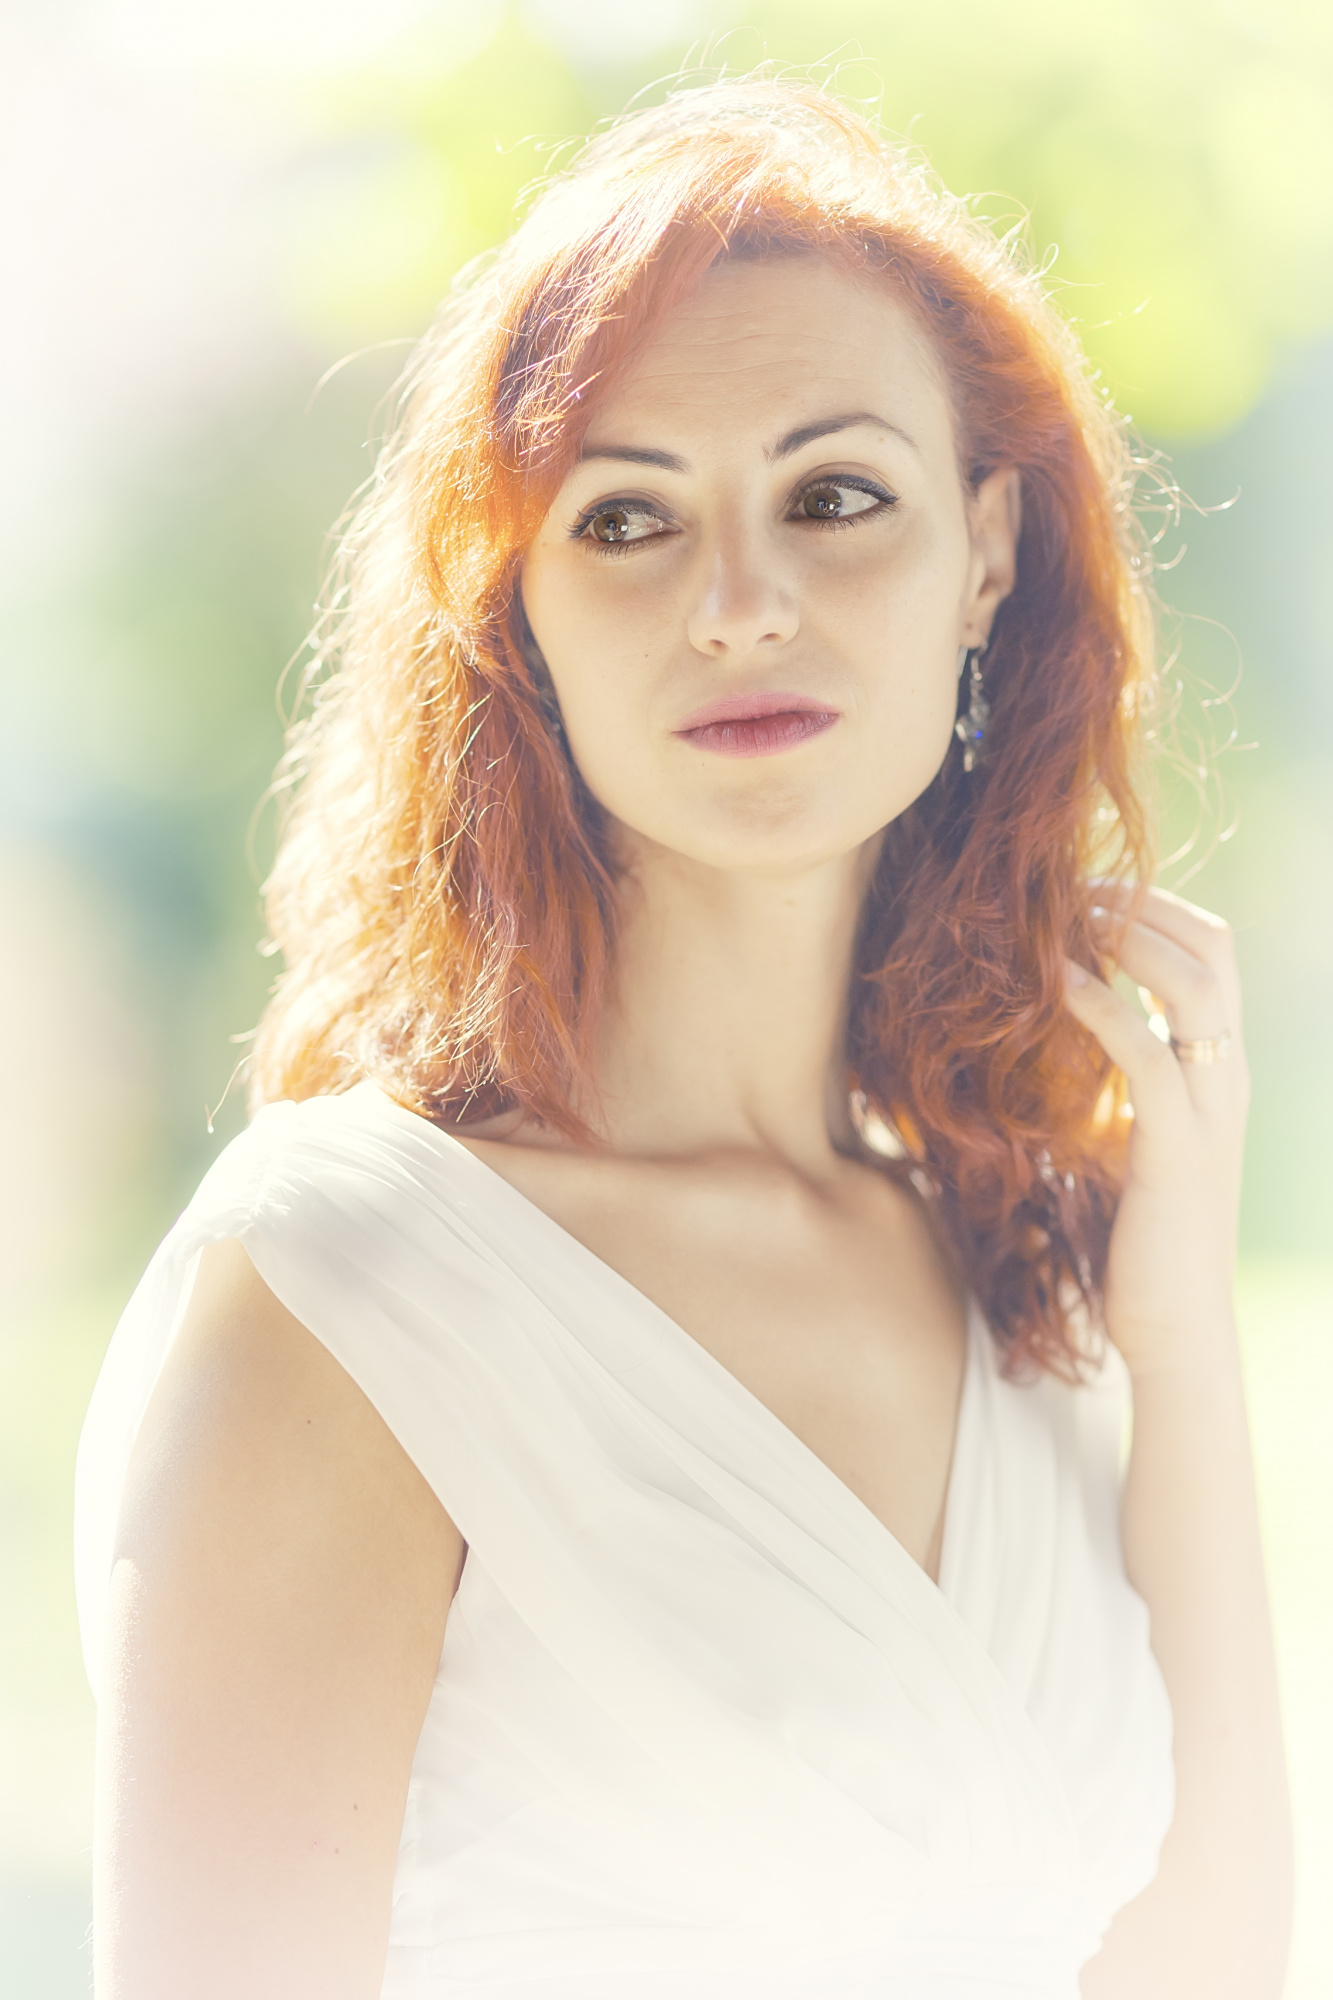

Hi Mihai you got there in the end welcome to " The Real Critique " and thank you for sharing this fine image... You have two portraits may I take the top one first - Yes full on high Key of a very wonderful looking model in full swing - Well framed and composed - Highlights around her head have gone altogether you sometimes get this in high key I like to try and keep them and that is not easy..
I have had your image back into Photoshop - This is what I have a play with - I did a small crop off the top and off the bottom to help balance. I then took the burn tool with Opacity set at 18% and toned down just a little her face - neck and dress - last I put your image through Portrait Pro just to add that full glamour look - See Attached.
I'm back with the second image - This one is the opposite to the last I had to dodge her face and hair to help bring out the special glamour look - Cloned out some small hairs - A small crop top and bottom - last Portrait Pro on default settings and followed with sharpen - See attached --

Mihai,
First of all portrait is not my priority, but I saw the first image and for me it was a pity that the eyes lost the brightness. So I played a little bit with your photo. I brought him in Photoshop as follows to Camera Raw: FILTER>CAMERA RAW FILTER there I used the colour mixer. There I reduce the saturation of green and yellow a little bit and gave a fraction more saturation in red and orange. I darkened a fraction with the linear gradient. And at last back in Photoshop I lightend the eyes a fraction. See if you like this edit. Theo-senior critic
thank you all very much for the advice, the eyes look much better Theo;
I posted the second image just to give you an idea where I started from with my processing.
thank you all very much for the advice, the eyes look much better Theo;
I posted the second image just to give you an idea where I started from with my processing.
Mihai,
I played also with the second photo, but that is not normal editing but i will show and tell you below.
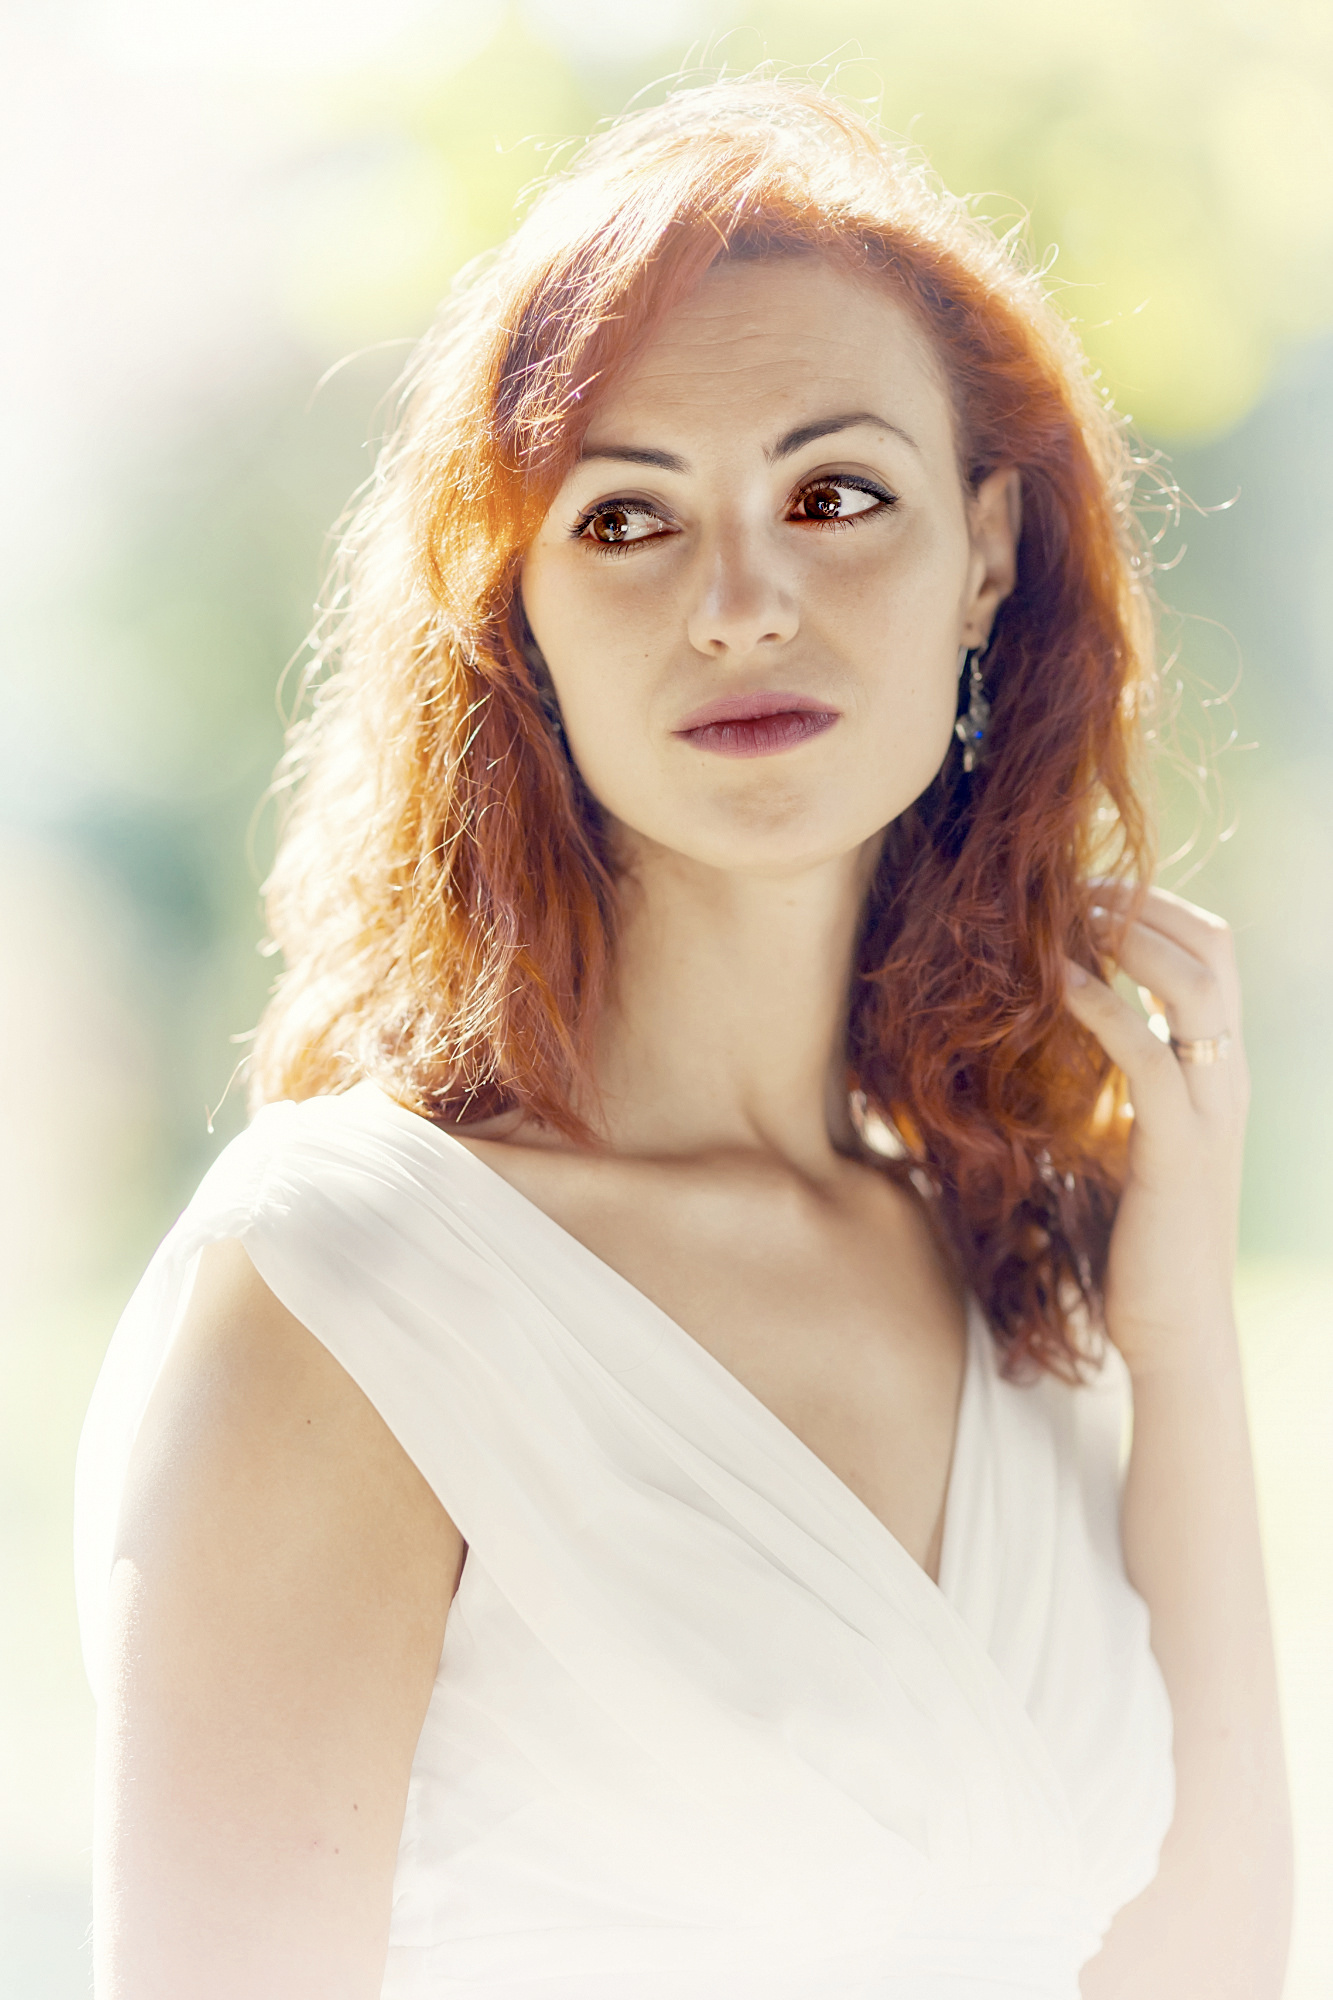
For your second photo I went to Camera raw and lightened ont left and darkened on the right with the linear gradient a fraction. But I had too much shadow in the face. I did sometihng very strange. I selected the eyes with the lasso spacious and above the stumper on 30 px to become soft borders. Than I turned the selection. After this I used in Photoshop a NEW FILLING LAYER with the skincolour. I reduced the covering till 10-15 % and all was softer. Of course is this a strange editing but below the result. Theo-senior critic
thank you again - I definitely have some homework to try in PS
thank you again - I definitely have some homework to try in PS
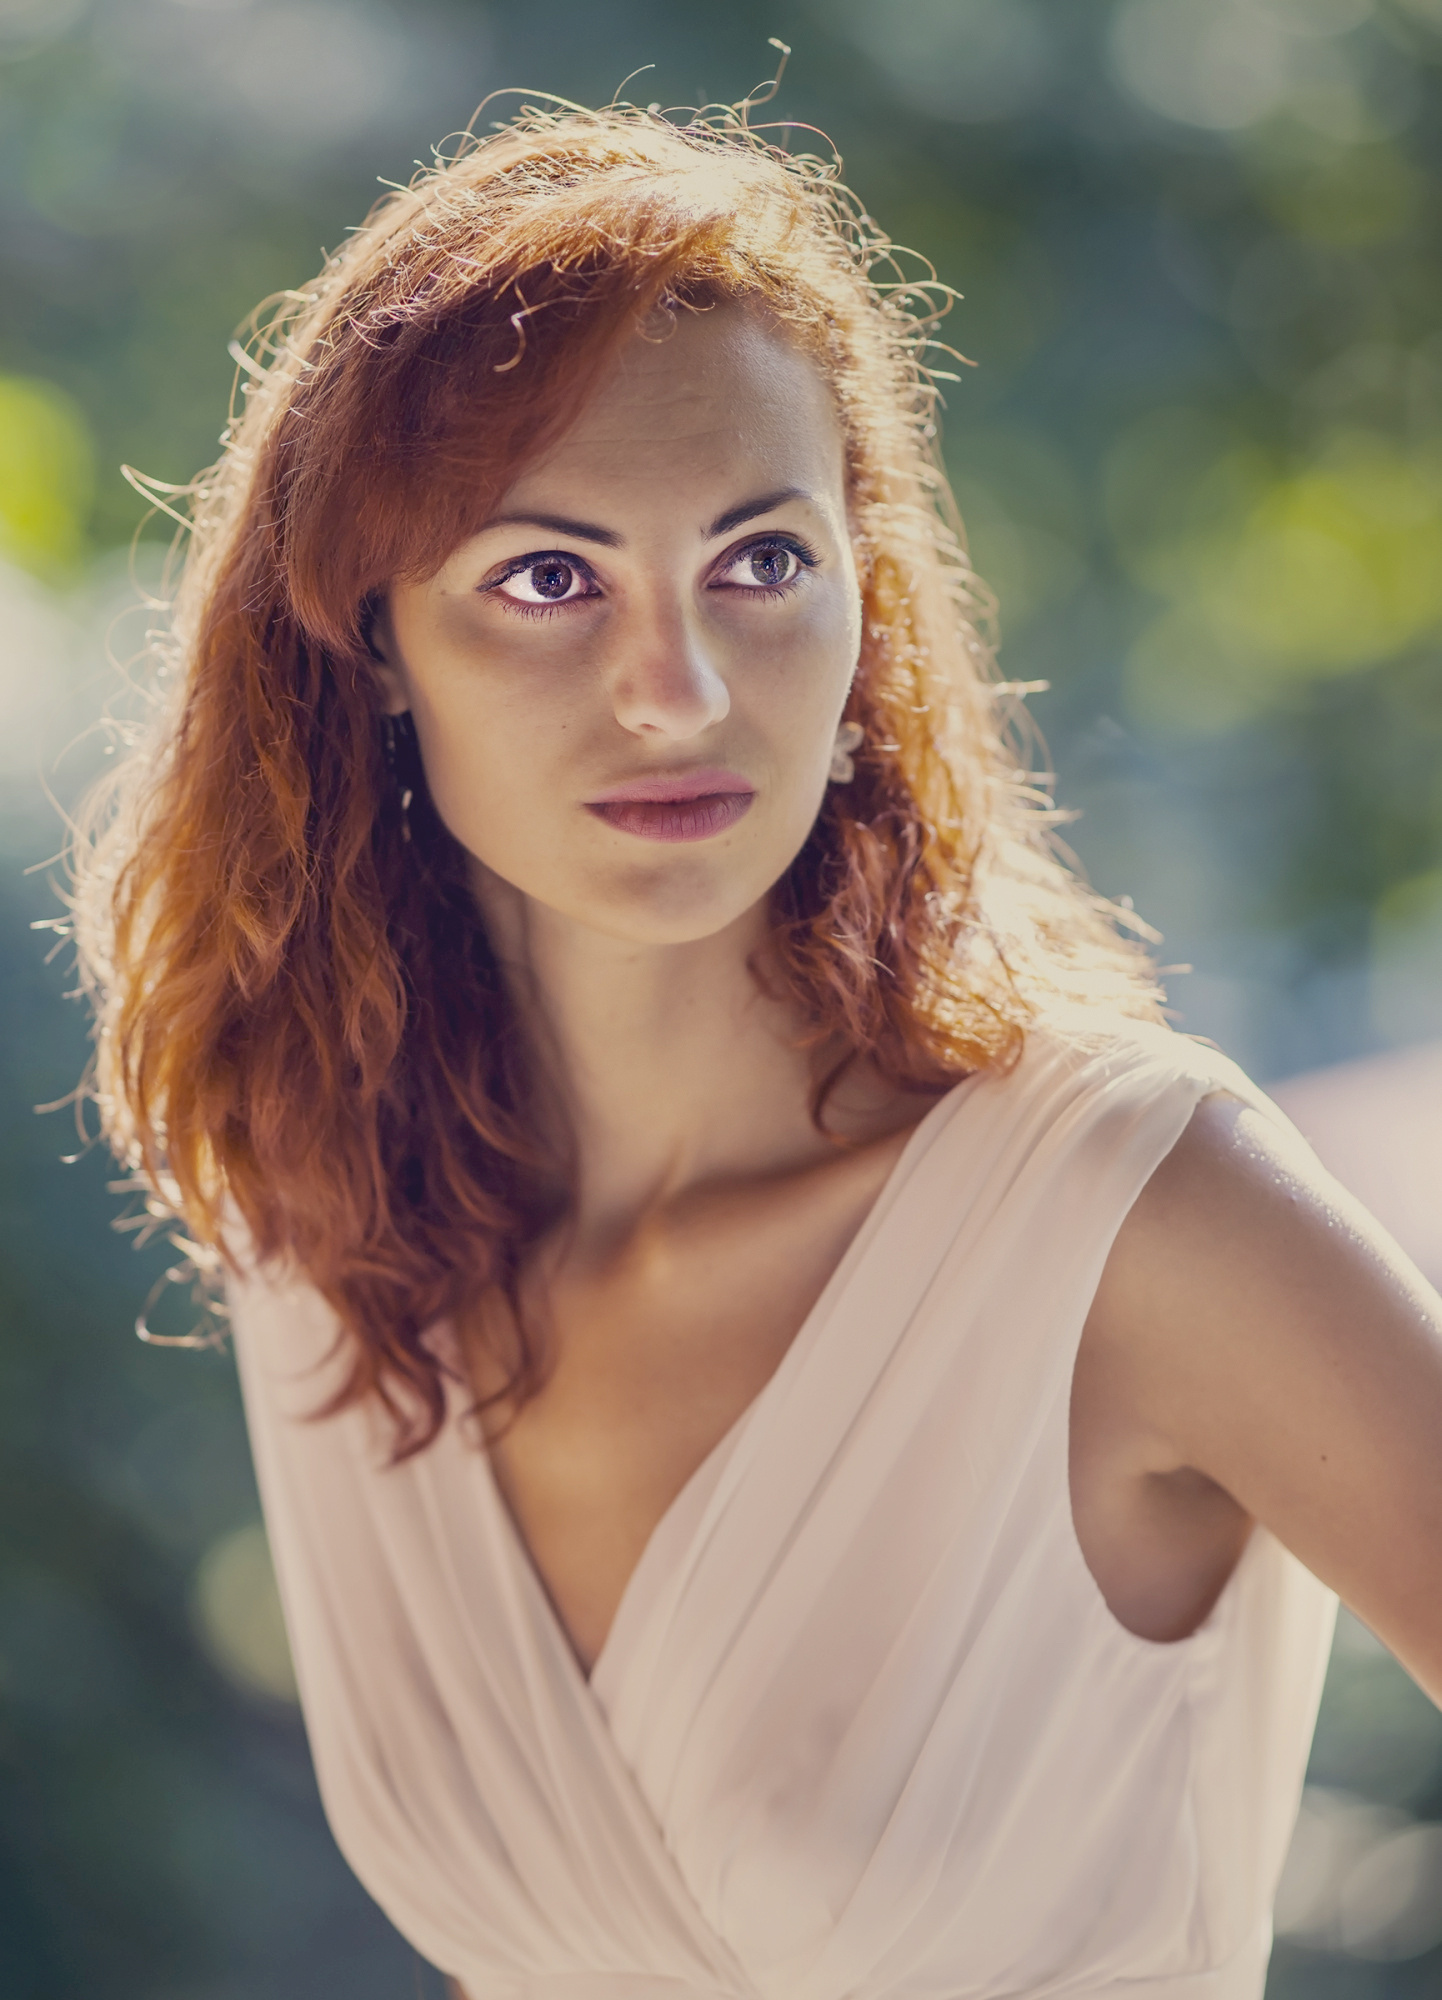
Below a last action
If you do the same with the first one she is a little bit warmer. Theo-senior critic